
This weekend our school will be celebrating (along with over a million people) International Dot Day. We are inviting families to enjoy festivities at school that will allow them to be creative and Make Their Mark. My partner in crime (our Amazing Art Teacher- Alex Alkire) and I decided that we needed new shirts this year. Last year we made Dot Day shirts using sharpies and rubbing alcohol. It worked pretty well.. until you washed it. This year we stuck with easy (and they turned out great!)
 |
| Dot Day 2012 |
Materials:
-shirt of your choice
-fabric paint
-circle stampers
 |
| Finished product |
Step 1- choose your colors
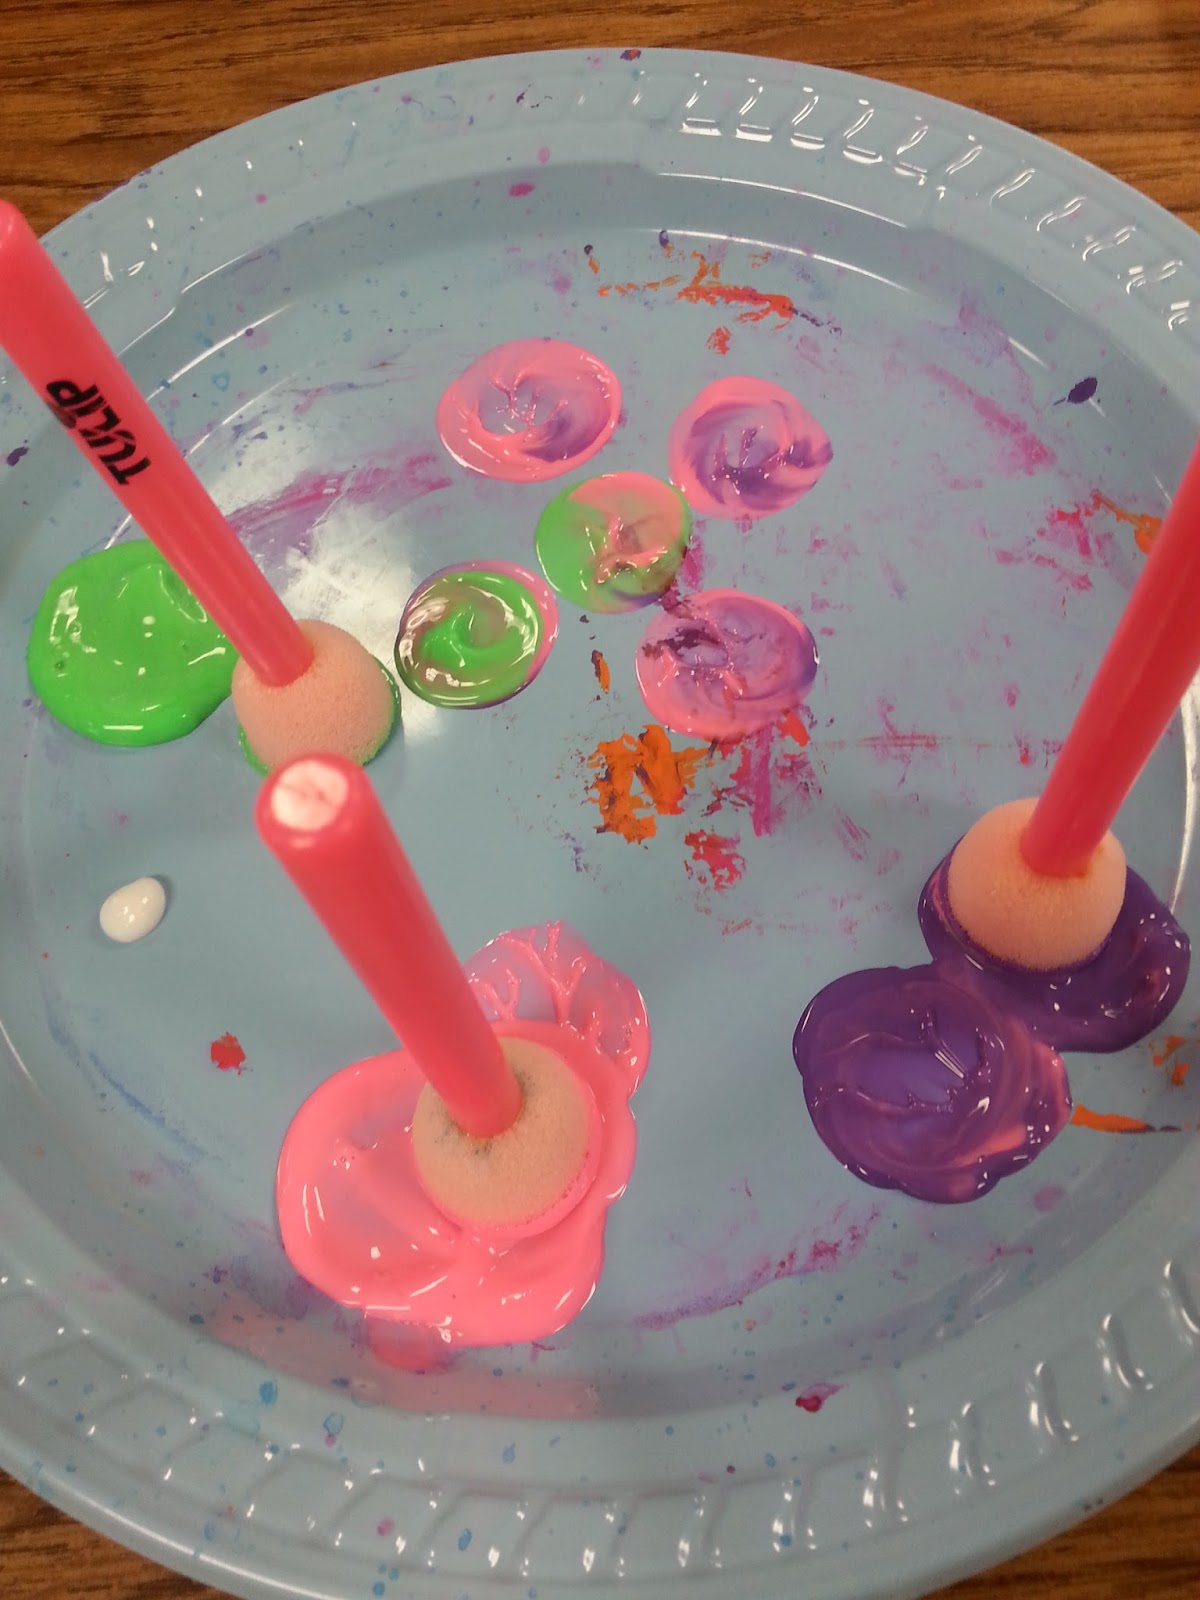 |
| Fabric paint and circle stampers |
Step 2- Stamp Away! We put placemats in the middle of our shirts so the paint would not bleed
 |
| Ms. Alkire adding some sparkles to her shirt |
Step 3- Let it dry then it is ready to wear! When I wash this shirt, I turn it inside out.
Shirt 2- Thank goodness for Pinterest! Ms. Alkire found this blog with a cool tutorial for a do it yourself hand-dye t-shirt
Materials:
-white t-shirt
-Elmers glue (the directions say the blue gel.. we use regular Elmer's glue and it seemed to work
-Rit dye
-gloves
-bucket
Step 1- Create a design on your shirt using the glue. Something we learned.. if you put a drawing underneath the shirt to trace, it will bleed through.

Step 2- Let dry for 24 hours

Step 3- Prepare your dye. I did this outside. I put about 3 cups of water in the tub and the full package of Rit

Step 4- Let shirts soak in the tub for 10-15 minutes. It was pretty cool to watch it change color

Step 5- Let dry completely (I sure do love that we have space in our backyard to do this!)

Step 6- Rinse- I rinsed it in the bucket first with a little dish soap. I realized; however, that not all of the glue had come out yet. I threw it in the washing machine on a gentle cycle. I then washed it one more time regular with a little bit of soap.

Step 7- Take them out and let them dry! I will probably wash the shirt on its own for a few more times. There is still a little residual glue left (when we do this again we are going to try with the original directions of the blue gel)

Overall I LOVE this idea! I can't wait to showcase our super crafty shirts!
Have you created your own Dot Day shirts? How are you celebrating Dot Day? Have you signed up at the Dot Club?
No comments:
Post a Comment